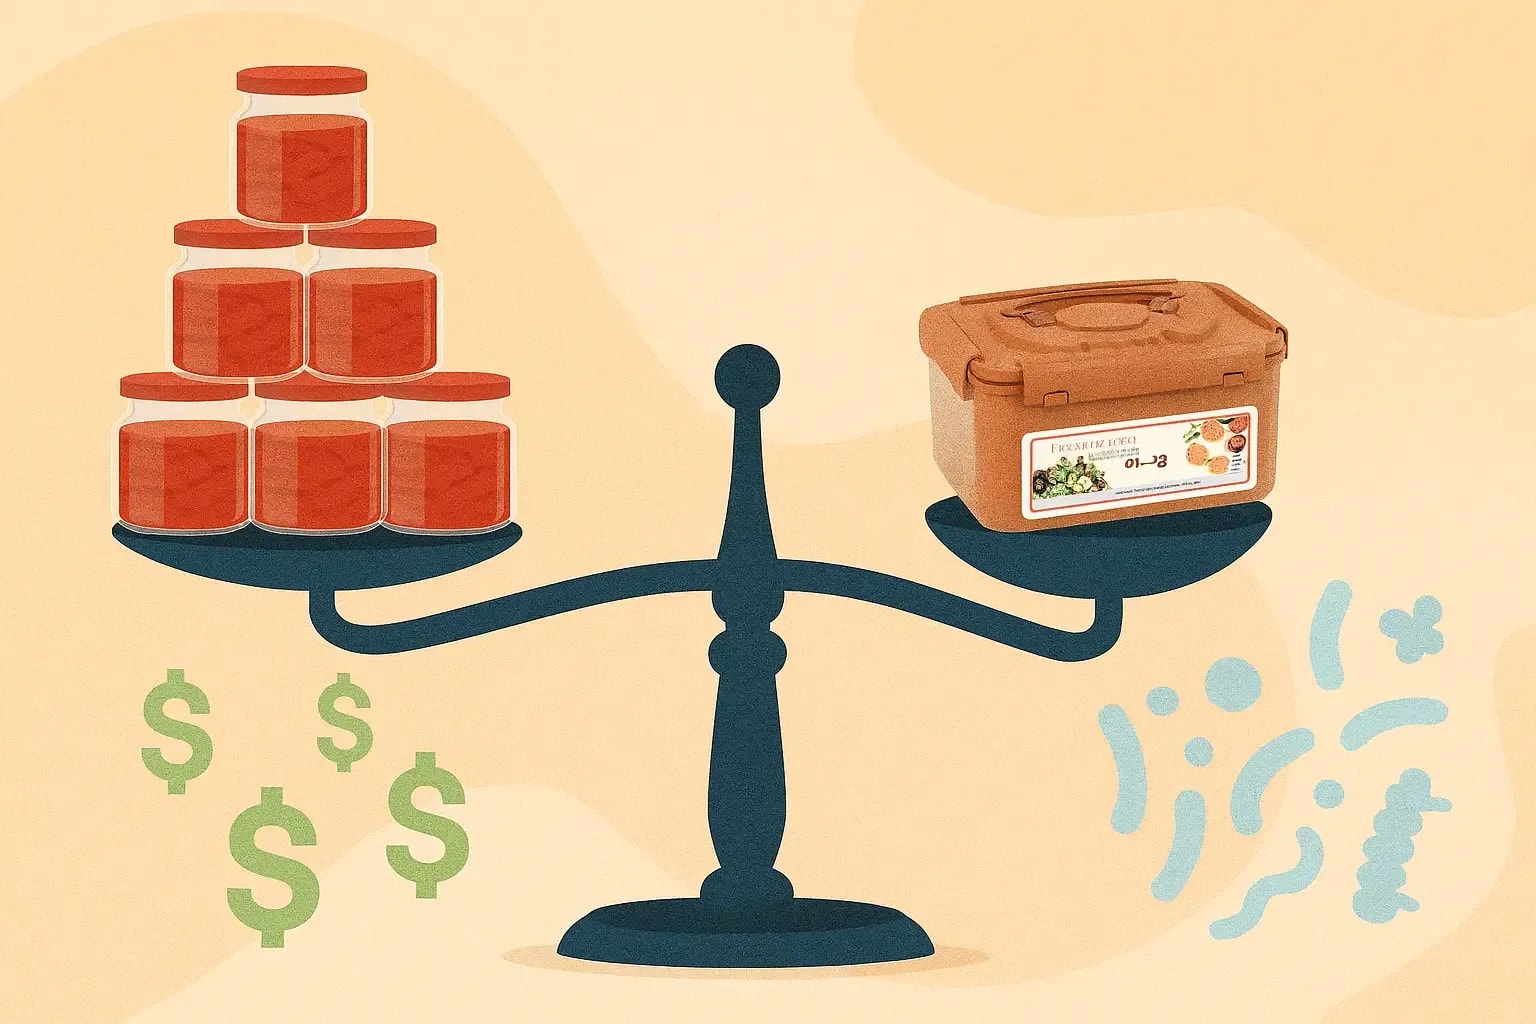
In a nutshell: After years of burping jars, managing weights, and dealing with fermentation failures, I discovered the E-Jen Premium Fermentation Container. This Korean-engineered vessel with its brilliant vacuum-seal technology didn't just improve my ferments—it completely transformed how often and successfully I ferment. Dramatically fewer failures, perfect texture retention, and the ability to ferment on my kitchen counter without any smell. Available in 9 sizes from 1.7L to 17L, it's become the cornerstone of my fermentation practice.
The E-Jen Discovery That Changed Everything
I'll never forget the day I opened my fermentation cabinet and found yet another moldy batch of what should have been perfect sauerkraut. Despite using quality glass weights and following every rule, something had gone wrong. Again.
That failure led me down a research rabbit hole into Korean fermentation methods. I discovered that Korean home cooks rarely deal with mold or fermentation failures, and the secret was in their containers—specifically, the modern E-Jen system that adapts ancient onggi earthenware principles for today's kitchens.
I ordered my first E-Jen container and within a few months, my success rate had completely turned around. The difference was so dramatic that it's now become my go-to recommendation for anyone serious about fermentation.
Understanding the Revolutionary Design
The Korean Onggi Heritage
For over 5,000 years, Koreans have fermented in onggi (옹기)—breathable earthenware vessels that create perfect fermentation conditions. These pots are heavy, fragile, and impractical for modern kitchens, but their fermentation results are unmatched.
E-Jen solved this by engineering a modern container that replicates onggi's benefits through a combination of food-grade polypropylene mixed with 7-10% natural clay (in earthenware brown models). This creates a microporous structure that allows optimal gas exchange while maintaining all the convenience of modern materials—lightweight, dishwasher-safe, and FDA-approved.
The slightly tapered cylindrical shape isn't just aesthetic. It allows for easy storage, provides a wide opening for access, and creates smooth interior walls that prevent bacterial hiding spots. But the real innovation lies in that incredible vacuum lid system.
The Vacuum Lid System: Why It Works So Well
This is where E-Jen transforms from "nice container" to "fermentation game-changer."
The Double-Lid Innovation
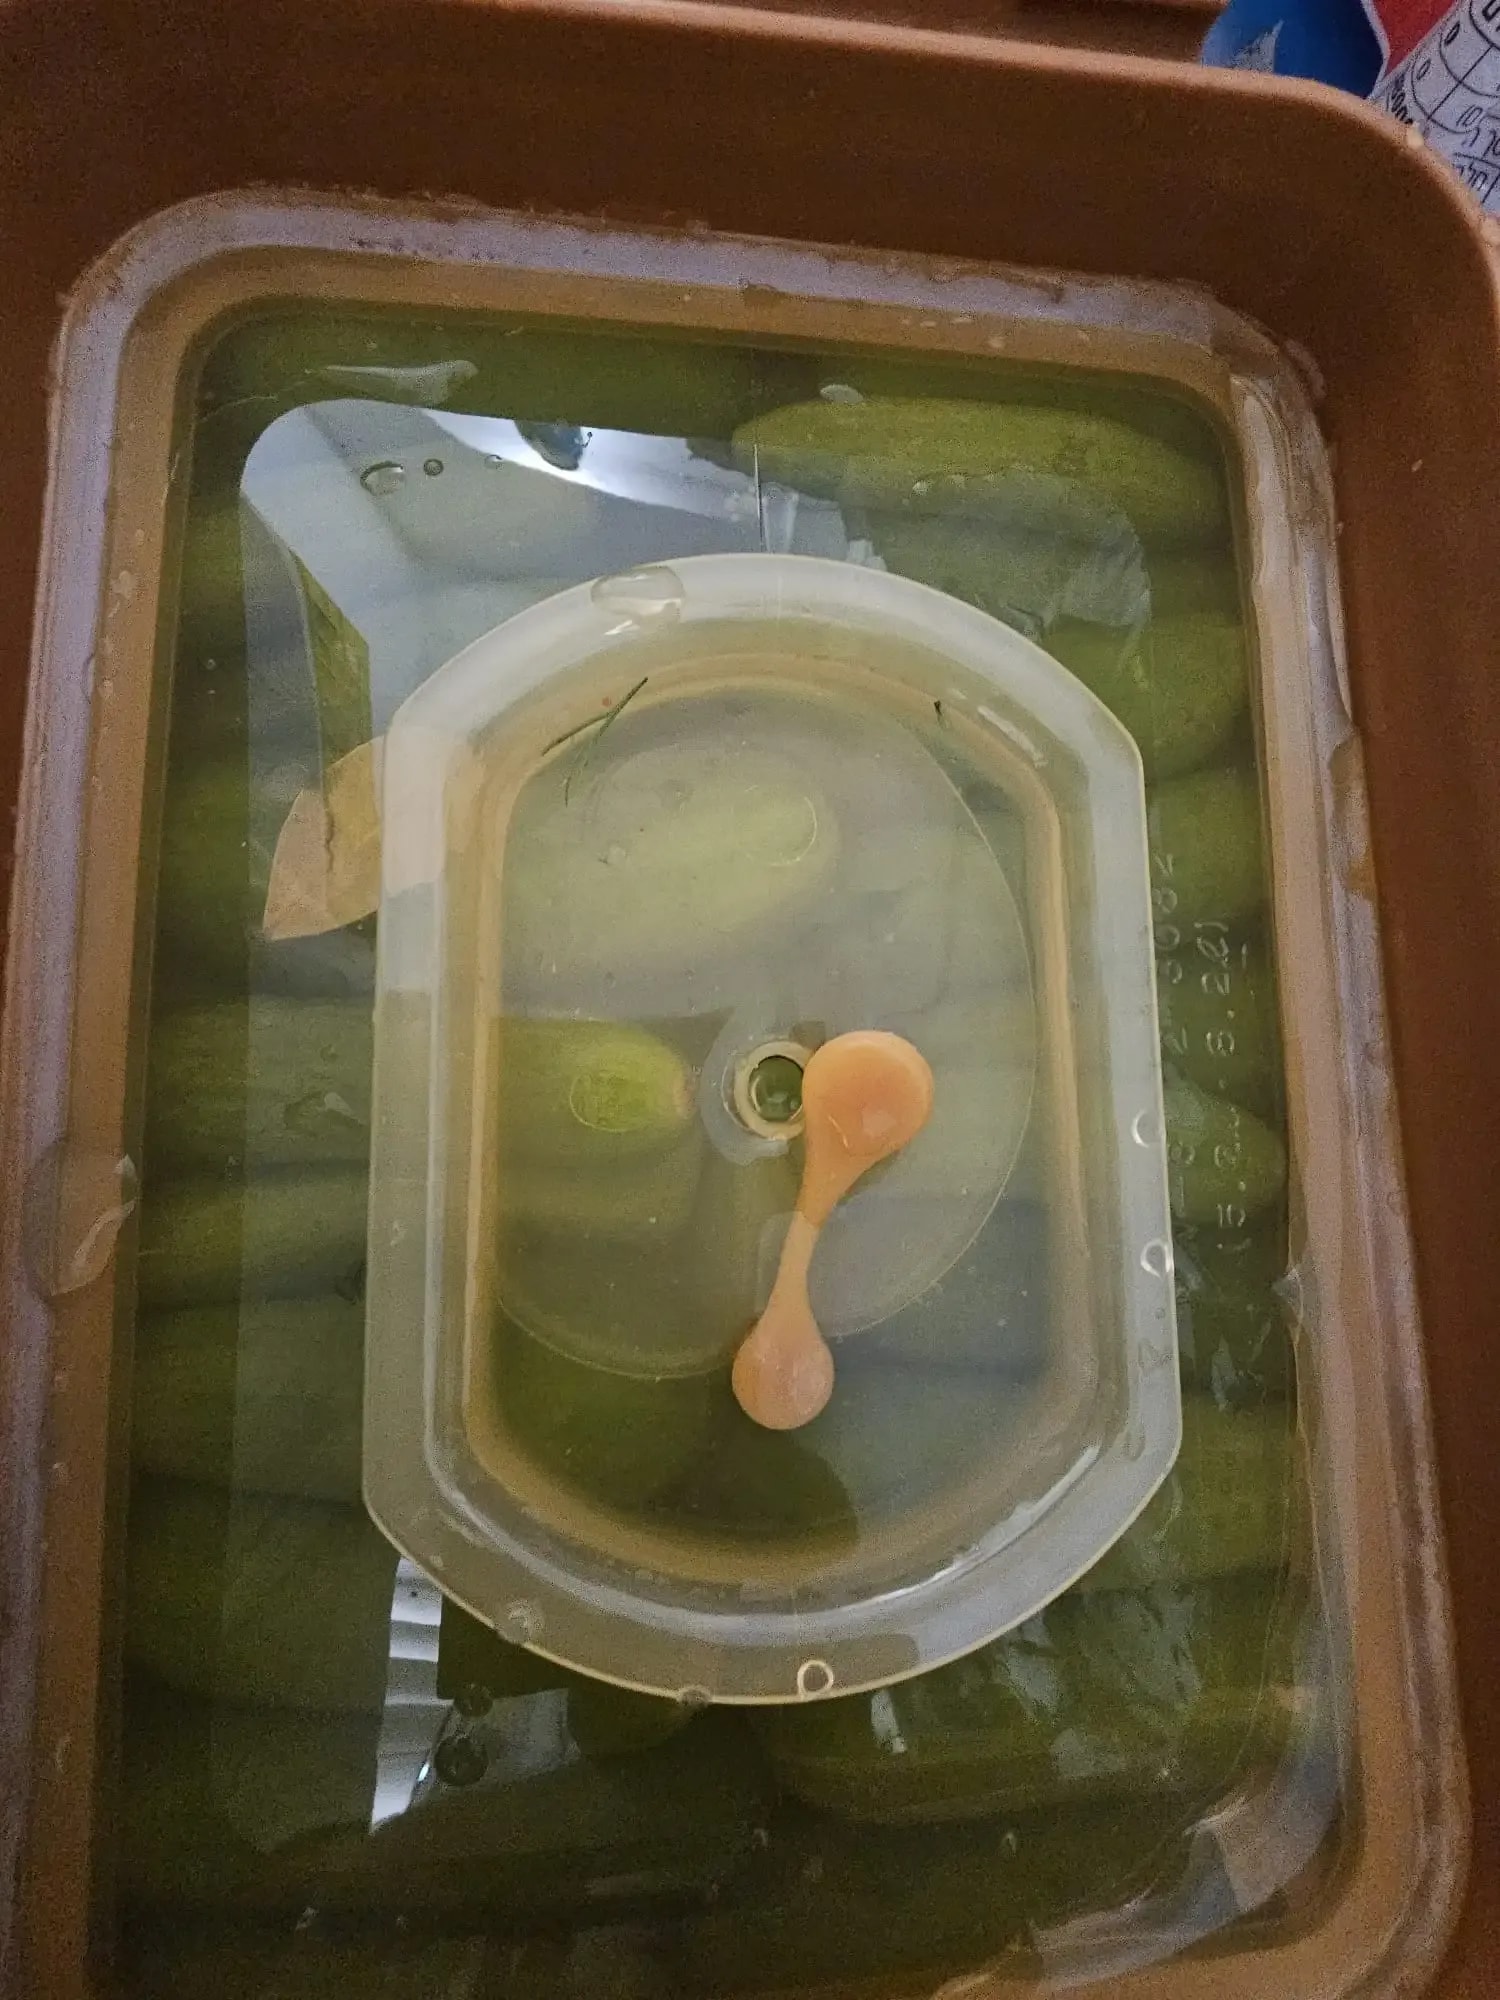
The inner vacuum plate adjusts to sit directly on your ferment, creating an instant anaerobic environment without any need for weights or inserts. Built into this plate is a small valve—just a simple opening with a removable rubber plug—that acts as a one-way airlock.
Here's the brilliant part: during active fermentation, you keep this valve OPEN. As CO2 escapes, it creates a small pool of brine around the opening. This brine becomes a natural airlock, allowing gas out but preventing air from entering. No daily burping needed. No checking weights. Just set it and let fermentation happen.
The outer lid provides a secondary seal that completely contains odors (yes, even kimchi!) while protecting your ferment from contamination. The easy twist-lock mechanism means you can check your ferment's progress through the clear sides without ever breaking the seal.
Solving the Four Main Fermentation Challenges
Traditional fermentation poses four main challenges: air exposure leads to mold growth, CO2 buildup causes overflow or explosion, uneven pressure creates mushy vegetables, and odor escape results in unhappy housemates. E-Jen addresses all four simultaneously. The inner lid maintains constant, gentle pressure while allowing gas to escape naturally. No daily maintenance, no smell, and far fewer failures.
E-Jen Size Guide: Finding Your Perfect Container
After testing multiple sizes, here's my detailed guide to help you choose:
Complete Size Chart
| Size | Volume | Real Capacity* | Perfect For | My Take | Get It |
|---|---|---|---|---|---|
| XS | 1.7L | ~1.4L | Test batches, 1 person | Great for experiments | Buy 1.7L |
| S | 3.4L | ~2.7L | 1-2 people, 1 small cabbage | My first & still favorite | Buy 3.4L |
| M | 5.2L | ~4.2L | Small families, weekly ferments | Most versatile size | Buy 5.2L |
| M+ | 6.4L | ~5.1L | 3-4 people, 2 small cabbages | Growing families | Buy 6.4L |
| L | 7.4L | ~5.9L | Large families, bulk prep | Popular with meal preppers | Buy 7.4L |
| XL | 8.5L | ~6.8L | Serious fermenters | When 5L isn't enough | Buy 8.5L |
| 2XL | 11L | ~8.8L | Small business, events | Getting serious | Buy 11L |
| 3XL | 12L | ~9.6L | Fermentation enthusiasts | For the dedicated | Buy 12L |
| 4XL | 17L | ~13.6L | Professional/commercial | Go big or go home | Buy 17L |
*Filled to recommended 80% for active fermentation
How to Choose Your Size
For your first E-Jen, I recommend starting based on your household size. Single person households do well with the 1.7L or 3.4L, while couples should consider the 3.4L or 5.2L. Families typically find the 5.2L or 6.4L sizes most practical.
As you expand your fermentation practice, adding different sizes for different purposes makes sense. Multiple 3.4L containers often work better than one huge one, especially considering refrigerator space. My personal setup includes a couple of 3.4L containers for regular use, one 5.2L for larger kimchi batches, and a 7.4L for seasonal ferments when I want to make a big batch.
My Real-World Experience with E-Jen
What Actually Changed
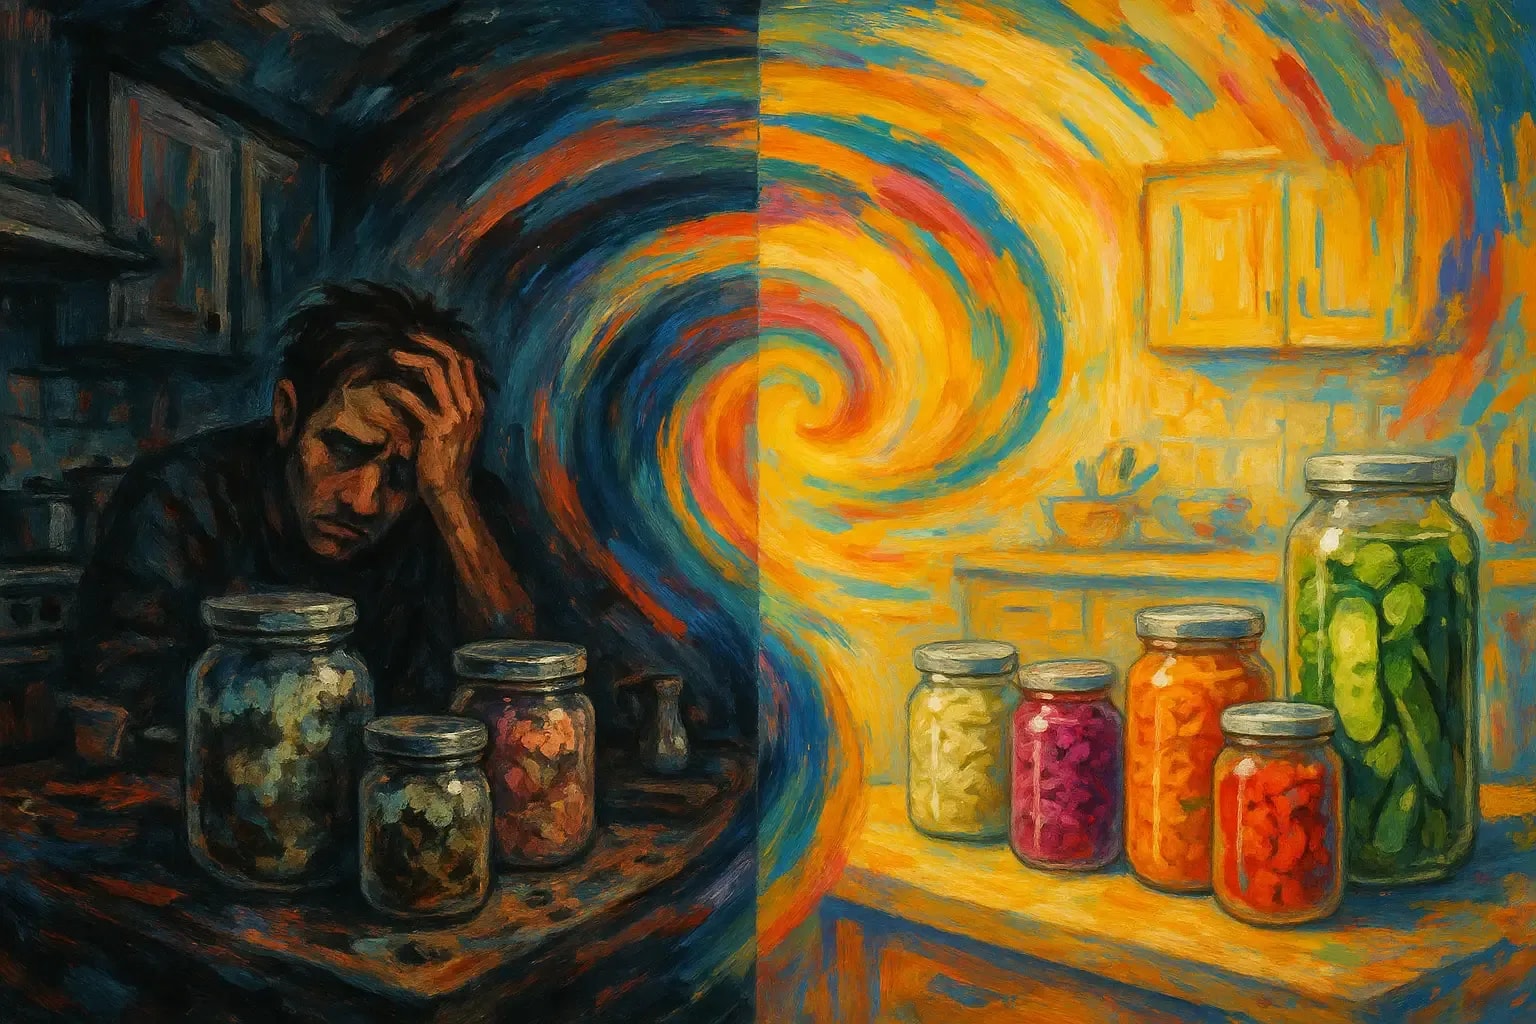
Before switching to E-Jen, I'd estimate that maybe one in five or six batches would have some kind of issue—mold on the surface, kahm yeast, or vegetables that turned mushy. It was frustrating enough that fermentation felt like a gamble rather than a reliable kitchen practice.
Since switching to E-Jen, those failures have become rare. I still occasionally get a batch that doesn't turn out quite right (usually my own fault—forgetting to check on something or using vegetables that were already past their prime), but mold has essentially stopped being an issue. The consistent anaerobic environment really does make a difference.
More importantly, my ferments last much longer in the fridge. Sauerkraut and kimchi stay crunchy for months instead of turning soft after a few weeks. That alone has changed how I approach fermentation—I'm more willing to make larger batches because I know they'll keep.
Ferments That Work Particularly Well
Traditional napa cabbage kimchi showcases E-Jen's strengths perfectly. The crunch holds up beautifully over time, flavors develop without vegetables turning to mush, and the inner lid keeps everything submerged without any fiddling.
Water kimchi (mul-kimchi) is another standout. Before E-Jen, keeping those vegetables submerged was a constant battle. Now they stay down naturally, the brine stays clear, and the final product is consistently refreshing and crisp.
I've also had great results with longer ferments like hot sauce mash. Being able to let something ferment for several months without worrying about surface mold is genuinely liberating.
Temperature Considerations
The container's thermal mass does seem to help stabilize temperature swings somewhat. My kitchen ranges from cooler in winter to quite warm in summer, and I've found fermentation stays more consistent than it did with thinner mason jars. That said, if you're dealing with extreme temperatures, you'll still want to manage your environment.
How to Use E-Jen for Best Results
After plenty of trial and error, here's the technique that works best for me.
Initial Setup (First Use Only)
Start by washing all parts with hot soapy water. Pour boiling water over the container—it can handle it. Test the valve movement to ensure it slides easily, then let everything dry completely.
Step-by-Step Fermentation Process
Step 1: Prep Work Use a quality scale to weigh your vegetables accurately. I typically use around 2-2.5% salt for most ferments, adjusting based on the recipe. Massage vegetables until proper brine develops, then season as desired.
Step 2: Loading the Container Fill to about 80% maximum—this is important because fermentation creates additional liquid and gas. Pack firmly but don't over-compress. Make sure brine covers vegetables by at least half an inch.
Step 3: Setting Up the Vacuum Lid Here's the key step: pull the valve plug UP to the open position. Lower the inner lid slowly, watching brine rise through the valve hole. Stop when brine pools around the valve opening. This brine pool becomes your natural airlock.
Step 4: Sealing Place the outer lid and twist to lock. That's it. No burping needed, no daily checking, no fiddling with weights.
Step 5: Monitoring Fermentation Watch for bubbles through the clear sides—that tells you fermentation is active. Timing varies by what you're making: quick pickles might be ready in 2-3 days, sauerkraut typically takes 1-3 weeks depending on temperature and taste preference, kimchi needs 3-7 days initial fermentation then continues developing in the fridge.
Step 6: Storage Once fermented to your taste, move to the refrigerator. Now you can close the valve by pushing the plug down. Properly fermented vegetables should keep for several months.
Tips I've Learned Along the Way
Keep some extra brine in a jar for topping off if needed. The "press test" helps gauge readiness—vegetables should resist gentle pressure but not feel mushy. Check the smell through the outer lid (resist the urge to open it early!) to monitor progress.
The Science Behind Why E-Jen Works
Creating the Right Environment
The E-Jen creates an anaerobic environment where beneficial lactobacillus bacteria thrive while harmful aerobic organisms can't establish themselves. The even pressure from the inner lid eliminates the dead zones and air pockets that plague other fermentation methods. Meanwhile, the natural gas release prevents the over-pressurization that can affect texture.
Better Texture Preservation
The even pressure throughout the container prevents selective mushiness—that frustrating situation where vegetables are perfectly fermented in one spot but overdone in another. Cell walls maintain their integrity longer, and crunch lasts months rather than weeks.
More Predictable Flavors
The controlled environment leads to more predictable flavor development. You get complex, developed flavors without the off-notes that can come from oxidation or uneven fermentation.
Common Questions & Troubleshooting

*** Please note: just fan art here of course, not an actual E-Jen depicted here. ***
"Why is brine coming through the valve?"
This is exactly what should happen! That brine creates your airlock. Don't wipe it away during active fermentation.
"Can I ferment dairy/grains/kombucha?"
E-Jen is optimized for vegetable ferments. I use other vessels for different fermentation types—kombucha especially needs different conditions.
"How do I know when to refrigerate?"
Taste is your best guide. Start checking after these minimum times: pickles need 2-3 days, sauerkraut requires at least 1 week, kimchi needs 3-5 days for initial fermentation, and root vegetables typically take 5-7 days.
"My lid seems stuck"
Fermentation can create slight vacuum. Run warm water over the lid edge, then twist—it should release easily.
"Can I stack containers?"
Yes, when not in use. During fermentation, give each container some breathing space.
"Which size should I start with?"
The 3.4L is my recommendation for most people. It's large enough to be practical but small enough to fit in most refrigerators without issue.
"The inner lid floats up during fermentation"
This happens with very active ferments. Make sure you've filled to only 80% capacity and that the valve is fully open. The floating usually settles after the first few days of vigorous fermentation.
"How do I clean the valve?"
Remove the rubber plug and rinse both parts under hot water. A small brush helps remove any dried brine. Let dry completely before reassembling.
"Can I use metal utensils?"
Yes, the container is durable enough for metal utensils, though I prefer wood or silicone to avoid scratching the surface over time.
What Changed in My Kitchen
From Occasional Project to Regular Practice
Before E-Jen, fermentation felt like an event—something I'd do on a weekend when I had time to babysit jars. Between the monitoring, the burping, the occasional failures, and the complaints about smells, it required mental energy I didn't always have.
Now fermentation has become routine. I can start a batch any day because I know it doesn't need attention. The reliability means I'm more willing to experiment with new recipes. Counter-top fermentation is actually possible because the odor containment really works.
Practical Benefits
Vegetables rarely go to waste anymore—if something's looking a bit tired, into the fermentation container it goes. There's always something fermented in my fridge for quick meals. My cooking has gotten more interesting because I have a rotating selection of fermented ingredients to work with.
Sharing the Discovery

I've given E-Jen containers as gifts to several friends who were curious about fermentation. The feedback has been consistently positive—people who struggled with fermentation before suddenly find it manageable. The 3.4L size makes a great gift for anyone interested in getting started.
Is E-Jen Worth the Investment?
Cost Comparison
An E-Jen Container (3.4L) costs $45-55. Compare this to alternatives: a mason jar setup with jar, weight, and airlock runs $25-35, a small ceramic crock costs $80-150, and vacuum bag systems are $40-60. The key difference? E-Jen includes everything—no additional purchases needed.
The Real Value
Store-bought kimchi costs $8-12 per jar, while homemade costs a fraction of that. If you ferment regularly, the container pays for itself quickly. But beyond the financials, the value is really in reliability and convenience. If frustrating failures have kept you from fermenting as often as you'd like, that's what E-Jen solves.
Where to Buy
Best for Beginners: 1.7L E-Jen Container - Perfect for test recipes 3.4L E-Jen Container - My recommendation for most people
Growing Your Practice: 5.2L E-Jen Container - Ideal for families 6.4L E-Jen Container - Great for batch fermenters 7.4L E-Jen Container - Serious capacity
For High-Volume Fermenters: 8.5L E-Jen Container - Bulk batches 11L E-Jen Container - Small business scale 12L E-Jen Container - Community fermenting 17L E-Jen Container - Commercial capacity
Pro tip: Amazon pricing varies by size. Sometimes larger containers offer better per-liter value, so check multiple options before buying.
Final Thoughts
After several years of regular use, I can honestly say the E-Jen container is the best fermentation investment I've made.
It's not that it's magic or that failures are impossible—you can still mess up a ferment through poor technique or bad ingredients. But the container itself removes so many of the common failure points that fermentation becomes genuinely reliable.
For me, that reliability changed fermentation from an occasional hobby to a regular part of how I cook and eat. Having fermented foods always available, knowing they'll turn out well, and not dealing with the daily maintenance of other systems—that's what makes E-Jen worth recommending.
If you're tired of fermentation failures, sick of burping jars, or just want to ferment more consistently, E-Jen is worth trying. It won't make you a master fermenter overnight, but it will remove a lot of the obstacles that get in the way.
Thinking about trying E-Jen? The 3.4L E-Jen Container is where I'd start—it's the most practical size for most home fermenters. Questions about E-Jen or fermentation in general? Drop them in the comments below.
Want more fermentation guidance? Check out The Noma Guide to Fermentation for advanced techniques, or explore our complete fermentation equipment collection for complementary tools.